

How Does Pigeon Net Installation Work Step by Step?
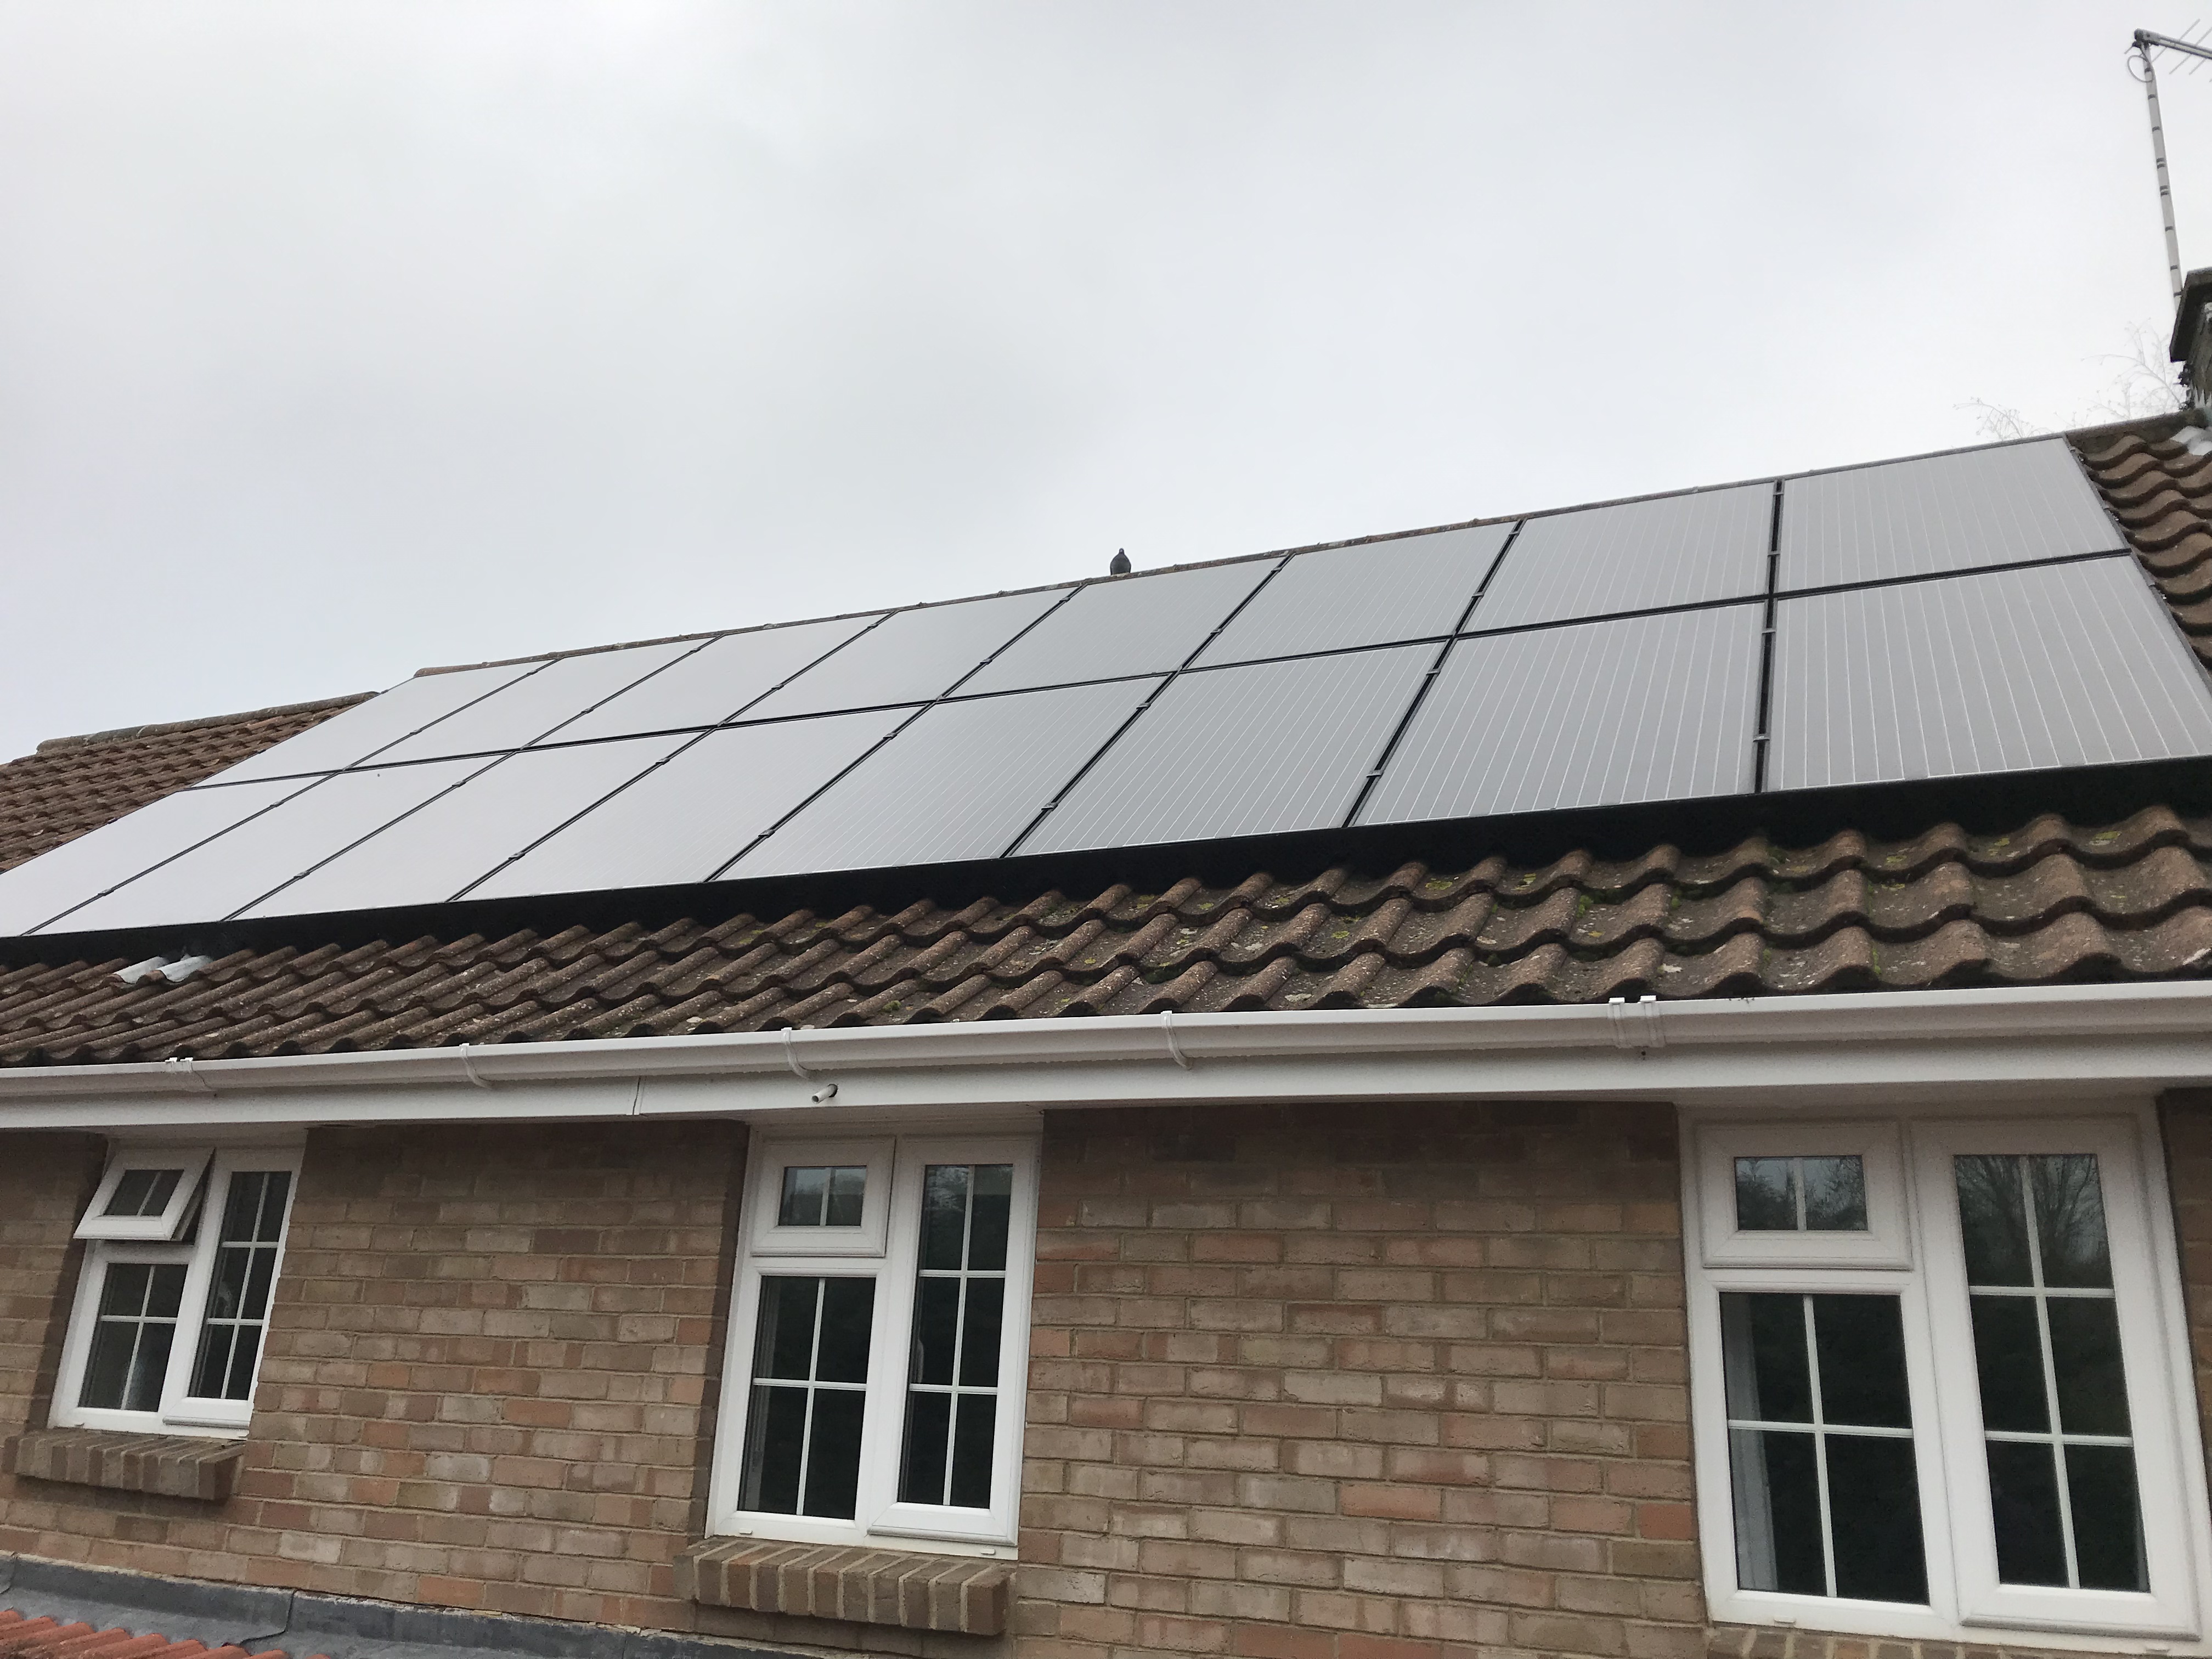
If you have solar panels, sooner or later, you will hear it. Scratching, flapping, that constant cooing. Pigeons are moving in like they own the place.
It starts small, something you barely notice at first. Then it slowly builds. Pigeons settle in, nesting begins, droppings start collecting, airflow gets restricted, and before long, your solar panels are not performing the way they should. That is where pigeon net installation comes in. Not a quick patch. A proper fix that shuts the problem down long-term.
Let us take a closer look at each stage of the process to understand precisely what goes into your building after you have called out for pigeon net installation services.

Step 1: Site Inspection and Problem Check
The installer must have a look at what they are dealing with before anything is installed.
This is not just a quick look from the ground. They will check:
- How many panels do you have
- How much space is underneath
- Signs of nesting or damage
- Entry points where birds are getting in
- Any early signs of common solar panel defects
This part carries more weight than most people realise. Miss something here, and the whole bird netting installation ends up being a cover-up instead of a fix.
A good installer does not rush this. Any risks or problems are mentioned at this stage, before any work commences.
Step 2: Safe Access and Preparation
Next comes getting proper access to the roof.
It usually means ladders, safety gear, and sometimes scaffolding, depending on the roof. Solar panels need a careful hand. One slip, one bad step, and you are dealing with cracked glass or messed-up wiring, and that gets expensive fast.
Once up there, the team clears the area:
- Remove nests
- Clear debris and feathers
- Clean out droppings
It is a dirty task, but a needless task. Whatever will be left behind under the panels will be sitting around and creating problems in the future.
Step 3: Deep Cleaning the Panel Area
This step often gets skipped by cheaper services, but it is where a proper job starts to separate itself.
Before installing the mesh, the area under and around the panels is properly cleaned. Why?
That is because, in most cases, a great deal of dirt and debris has already accumulated beneath the panels. It traps moisture and heat, as well as promoting corrosion in the long term.
Cleaning is not just prep work. It puts the system back into a healthier state before the pigeon netting installation goes in.
Step 4: Measuring and Custom Fitting the Mesh
Now the real work begins.
Every solar panel setup is slightly different. The mesh is not something you just roll out and hope for the best. It is measured and cut to match your exact layout.
The installer will:
- Measure panel edges carefully
- Cut the mesh to match the dimensions
- Shape it around corners and tight spots
This is where experience shows. A rushed bird net installation leaves gaps and looks rough. A proper one sits clean, tight, and blends in without drawing attention.
Step 5: Fixing Clips Without Damaging Panels
This is the part most people worry about. Will this damage the panels?
Done properly, it will not.
A professional pigeon net installer uses non-invasive clips that attach to the panel frame, not the glass or internal components. There is no drilling involved, and nothing interferes with how the system works.
The clips hold everything in place while keeping the panels fully protected.
Step 6: Securing the Mesh Around the Panels
Once the clips are in, the mesh gets attached and tightened around the entire setup.
The aim here is consistency. All the corners are guarded against, as are all the possible access points where pigeons can enter. Pigeons are relentless, and they take advantage of even the tiniest opening.
At this stage, the bird net installation becomes a complete barrier. The space underneath the panels is no longer accessible, and that changes everything.
Step 7: Final Checks and Reinforcement
Before wrapping up, everything gets checked again.
- Are all edges secure
- Any loose sections
- Any potential entry points left
If anything looks off, it gets corrected on the spot. Corners and joins are usually reinforced because they take the most strain over time.
This is what separates a quick job from a proper one. It is not just about getting the mesh on. It is about making sure it stays effective.
Step 8: Clean Up and Walkthrough
Once the installation is done, the team clears up the site and finishes the job properly.
Then they will usually walk you through what has been done. You get a clear look at the finished installation and understand how it protects your panels going forward.
A solid company does not rush off. They make sure you know what has been done and that everything is in place.
Why This Matters More Than You Think
A lot of people wait too long.
They hear the noise and brush it off. They assume it is not doing much harm. But pigeons nesting under panels can lead to:
- Reduced efficiency
- Damaged wiring
- Overheating issues
- Build-up of waste that attracts more pests
These problems build slowly and then hit all at once, usually when repairs are needed.
That is why pigeon net installation is not just about stopping birds. It is all about safeguarding the system you have already paid for and ensuring that it continues to run as it should.
Getting It Done Right
Getting it done right matters more than people think. A lot of installs look fine at first, but underneath, corners have been cut. No proper cleaning, cheap materials, and gaps left behind. Give it a few weeks, and the pigeons are back like nothing changed.
If you are going to fix it, fix it properly the first time. Otherwise, you are just paying twice and dealing with the same problem again.
That is where a specialist like PPSP Ltd stands out. They do it day in, day out, and thus nothing is missed, and the job actually holds.
Final Thoughts
Pigeons under solar panels don’t stay harmless for long. What starts off as a bit of noise quickly turns into nesting, mess, and performance issues you start noticing on your bills and system output.
A proper bird net installation shuts the whole thing down at the source. No gaps, no return visits, no repeat problem a few months later. If you are already spotting signs or just want to avoid the headache altogether, getting a specialist like PPSP Ltd involved early saves you a lot of trouble.
Leave it too long, and it stops being a minor issue. It turns into repairs, cleaning, and avoidable costs.
FAQ
How to fit bird netting to solar panels?
It starts with checking the full setup properly, not just a quick glance. The gaps, the nesting spots, everything gets looked at. Then the area under the panels is cleared and cleaned. After that, the mesh is measured, shaped, and fixed to the frame using clips so there are no openings left for pigeons.
Will bird netting damage solar panels?
Not if it is done right. A professional pigeon net installer works on the frame only, never the glass or wiring. No drilling, no forcing anything into the panels. It sits on clips designed for this job, so the system stays untouched and keeps running exactly as it should.
How long does pigeon net installation take?
Most of the time, it is quicker than people expect. A standard home setup can usually be done in a few hours. Bigger roofs or heavy nesting issues take longer because the prep work matters. Cleaning and removing nests first slows it down a bit, but it is what makes it last.
Why do pigeons go under solar panels?
Simple reason, it is perfect for them. Warm, quiet, hidden, and safe from predators. Once one pigeon settles, others follow fast. And once they are in, they keep coming back unless the space is fully sealed with proper pigeon net installation that blocks access completely.
<- Back to blog